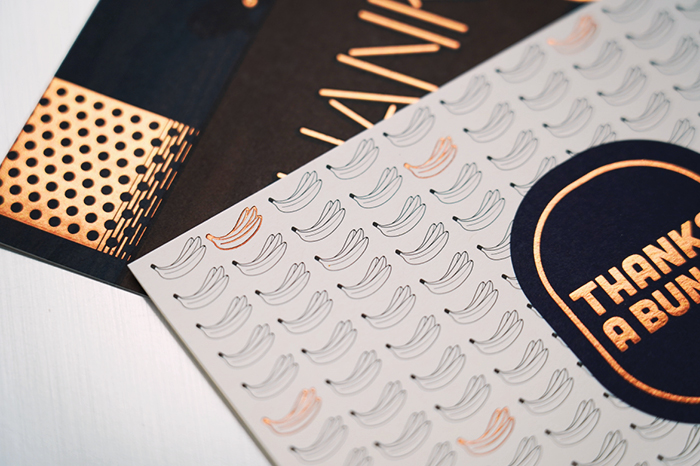
Using metallics in design and fashion has been trending in 2019 and looks to be continuing into 2020. Like many other company cards this holiday season, we applied a shiny copper foil to a set of eight different thank you cards. Since most designers don't have a lot of experience with foil applications, we thought that we would share our top tips for designing print with foil stamping.

1. Choose a Smooth Paper
For the best foiling results, you'll want to avoid papers with texture or unevenness. The less texture, the smoother the foil will lay down. Paper with columns or soft touch effects are not recommended. Thicker paper also performs better. We chose a Neenah Environment Natural White Smooth 80# cover.
2. No Hairlines
Lines that are too fine may get lost in the stamping process. A good rule of thumb is to keep all foil designs at least 0.5 pt in thickness. Small spaces in text also have a tendency to fill in, so the minimum recommended font size for most fonts is 8 pt.
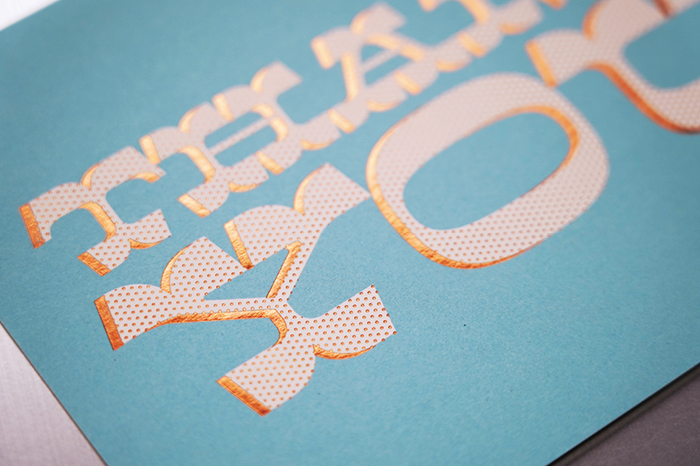
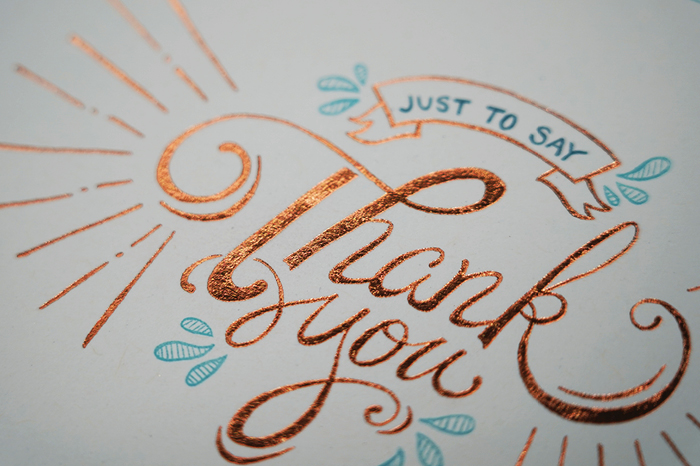
3. Watch Your Registration
Stamped foil can shift slightly in any direction during the stamping process, so precise registration (alignment) of foil with ink is hard to achieve. Using foil as an overprint over solid colors or patterns gives you less chance for error. If your foil is designed with reversed out art like the example above, the foil stamper will have to be meticulous to make sure the foil doesn't stray away from the letters' edges with every stamp. They may have to run the press slower which will add time and cost.
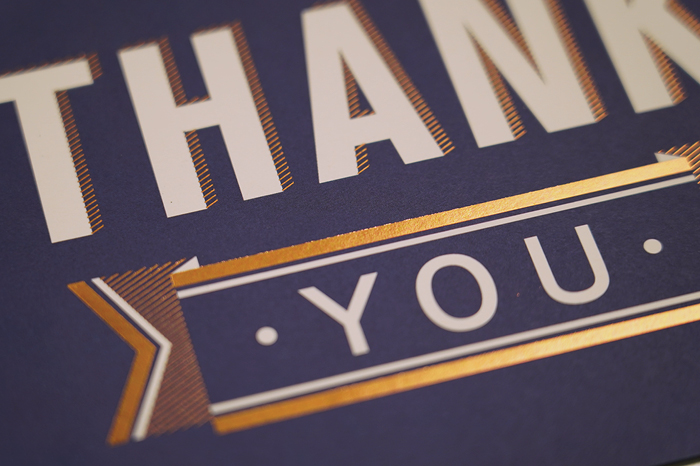
4. Coverage Affects Price
The more square inches your foil design covers, the higher the price tag you're going to pay. Foil is applied by a hot stamping die striking against a film carrier, which releases foil to the sheet through heat and pressure. Foil can be cut down if the design is smaller. But if you have a foil border running all the way around the edges of your piece, you'll be paying top dollar as the foil won't be able to be cut for savings.
5. Adding Texture
If you are hand illustrating a foil design, be aware that all textures will appear authentically in the final foil. You can convert your illustration to flat artwork if you want a smoother finish in the final piece.
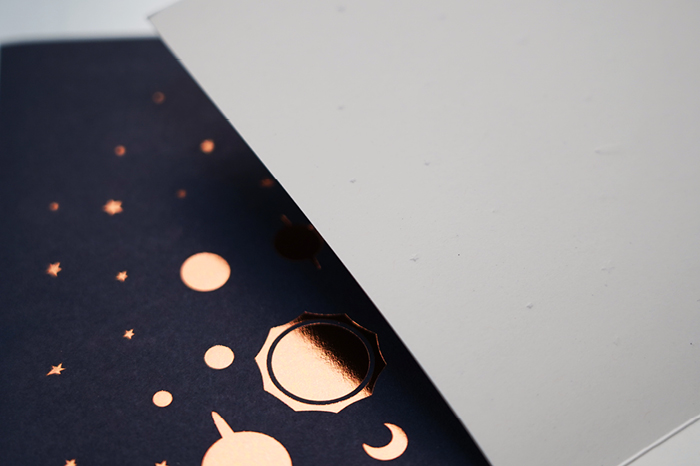
6. Press Check Your Foil
If you want to press check your foil application, here are a few things to look for:
- Be sure to confirm the correct color of foil is being applied.
- Check for impression. In the image above the pressure was a little high so some star shapes were being seen punched through the paper on the reverse side.
- Check alignment/registration as discussed above.
7. Consult With Your Print Provider
To ensure the best results, it's always a great idea to allow the printer's team to review your artwork before it is final. They can offer suggestions for improvement and point out any trouble spots.
Looking for inspiration? Request some samples to see the power of foil stamping in person. See a video of how these cards came to life from concept to completion and request a sample pack of cards here.