Do you want to make your next project really stand out? It’s all in the details. From unique folds and dielines to special papers and inks, there are a variety of ways to take your printed materials to the next level.
Finishing touches. My boss refers to them as “the cherry on top.” They can be big or small details, but they will always take your piece from good to great. It just takes a little research - maybe an online search, a conversation with a machine operator or vendor, or testing different materials. Don’t be afraid to try something new and ask lots of questions.
Here are some ideas for finishing touches, based on projects I’ve completed.
Headbands and Coatings
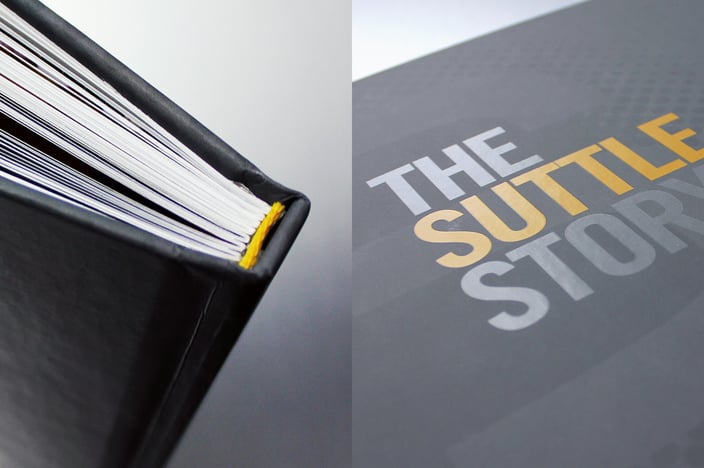
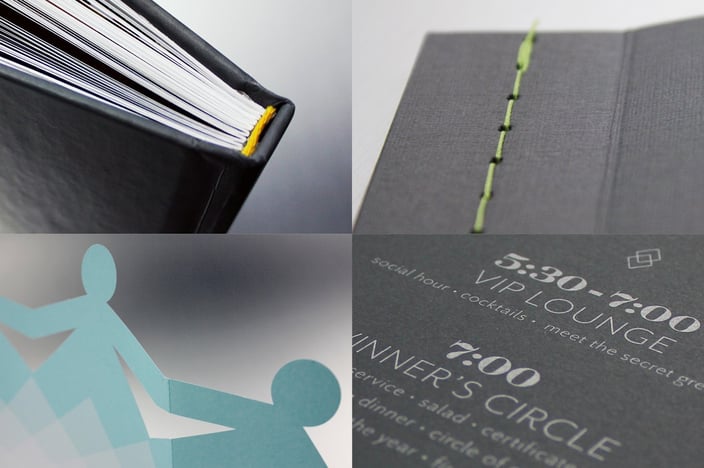
Have you ever designed a case-bound book? Up until recently, I hadn’t. Turns out, there was a lot I didn’t know, and it was a great learning experience. Towards the end of the project, our outside services coordinator asked what kind of headbands I wanted, and I had no idea what he was talking about. He explained that headbands (also known as tailbands or endbands) are the thin strips of fabric at the top and bottom edges of the spine of a hardcover book. He gave me a small selection to choose from, including black, red, and checkered, but there was a yellow one that happened to perfectly match our branding. I love that little pop of gold.
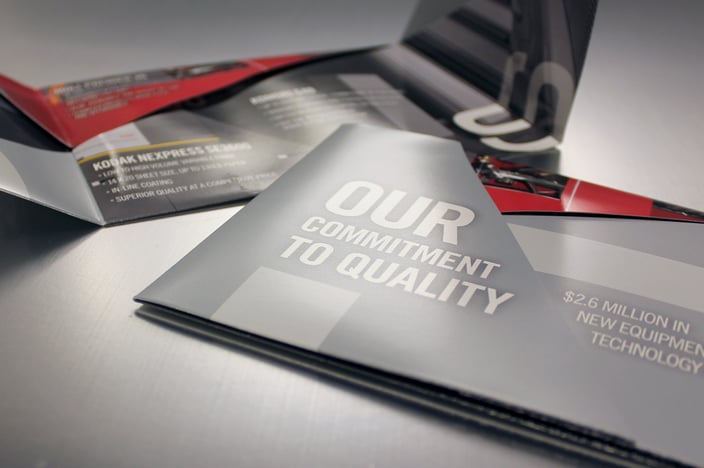
The cover of the book was printed with an overall soft touch coating and spot UV gloss on the text. The difference in texture and shine really made the title stand out. This combo looks even more amazing when used in tone-on-tone situations.

Pops of Color
Another project I worked on was a redesign of an awards booklet for a company that had recently gone through a rebrand. After selecting some beautiful brand-appropriate dark grey papers, I wanted to find an interesting way to bind the piece. I found out that our banner sewing machines could handle paper, so we started testing (and testing, and testing, and testing). One of our machines left oil on the piece and kept breaking needles, so the operator modified the other to only have one needle instead of two. I found some bright green thread online and ordered samples, but it wasn’t thick enough, so I had to get more in a heavier weight. There was a TON of trial and error with this project, but the end result was elegant with just a hint of fun, which is exactly what I had in mind.
Metallic Inks
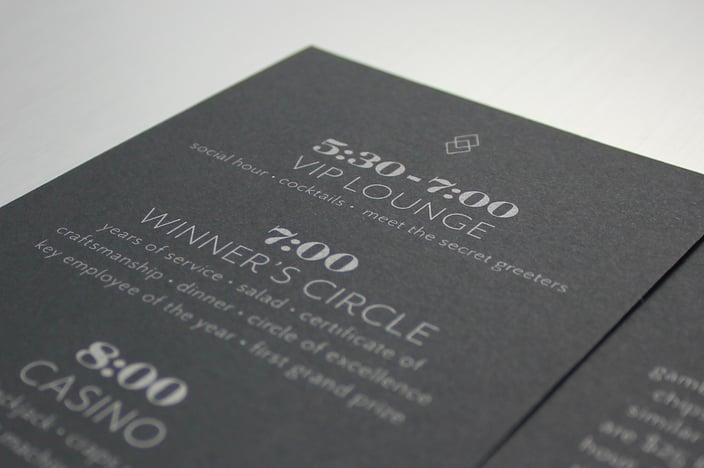
I’ve loved the effect of metallic inks on uncoated paper for a while now. I especially like the way that some of the sparkle is absorbed into the paper, leaving just a hint of shimmer. I was able to use this technique for our awards night materials a few years ago. The effect was amplified by using silver ink on black paper. Our pressmen were tired of seeing me because I kept asking them to push the silver on the press. However, all of the back and forth was totally worth it.
Custom Dielines
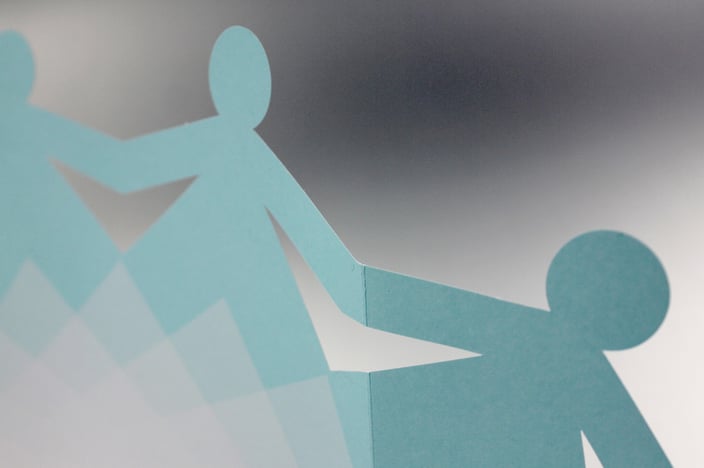
Sometimes a standard dieline is fine, but other times standard just won’t cut it. Coming up with your own dieline can be daunting, but I find there’s a certain thrill in engineering a brand new fold that hasn’t been used before. I knew how I wanted our 2015 holiday card to look when it was open, but it had to fold down to a square or rectangle to fit into an envelope for mailing. I initially intended to use a tulip fold, but I couldn’t get it to work the way I wanted. I made so many mockups and tons of tweaks to my dieline. The piece ended up as a hybrid tulip wrap fold with a nested insert, and it was featured on Fold Factory’s Super Cool Fold of the Week.
When projects are as detailed as this, make sure you talk with your production team (or vendor) before finalizing your files. There’s a lot that needs to be taken into account, and you may miss something if you don’t have at least one other set of eyes double-checking your work. Another thing to remember is that if you plan on mailing a similar piece in an envelope, make sure the envelope is at least 1/4” larger on all sides.
Unconventional Folds
For this project, my objective was to try and break our brand-new Moll folding machine. Seriously. We wanted to show off the Moll’s versatility by using an unconventional fold that could be executed entirely by machine. Most of the time, intricate folds are done by hand, which can mean a lot time and money. We also wanted this piece to be a self-mailer, which added complexity to the project.
This was another instance when machine operators wanted to run the other way when they saw me coming. With their guidance, however, I was able to pull it all off. I can’t stress enough the importance of having a good relationship with your vendors. They have valuable insights to help your projects along.
If you're looking for more ideas on interesting folds, read the related blog article, “Folds: Making an Impact on a Budget...No die required!”
Do you need more ideas for finishing touches or do you have a vision that you're not quite sure how to execute? Contact our team to discuss your project and let our experienced team help guide you to a stunning end result!